An update after silent for quite some times... XD
I decided to hold my Barzam project for a while, and concentrated on this Ma.K.
I aimed to finish it before Sept.
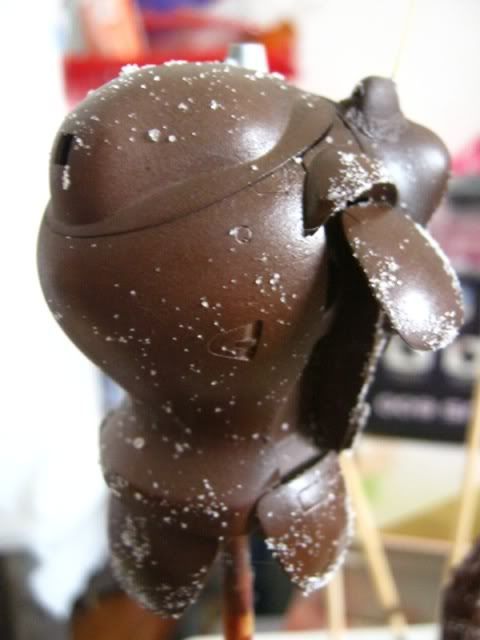
Before that, I showed off the resin 1/100 Core Works Gundam Mk.V which i got from a charity donation. XD Now i finally understand why it is so hard to work on resin kits..
Though it was partly done by the owner before, still took me an hour to let it stand this way!!

Ok. After some show off, now let's continue to the points.
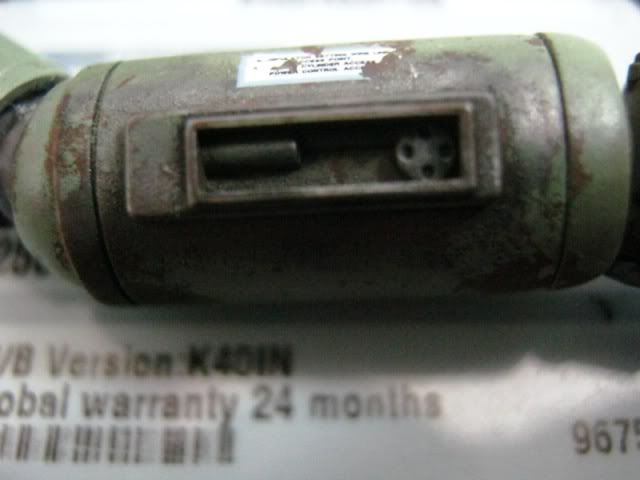
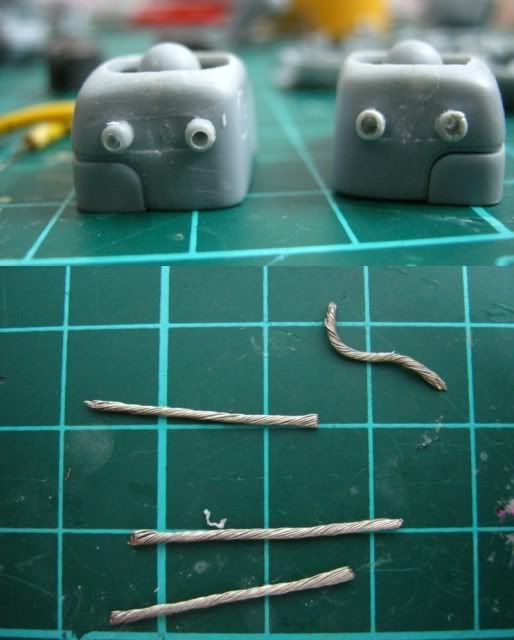
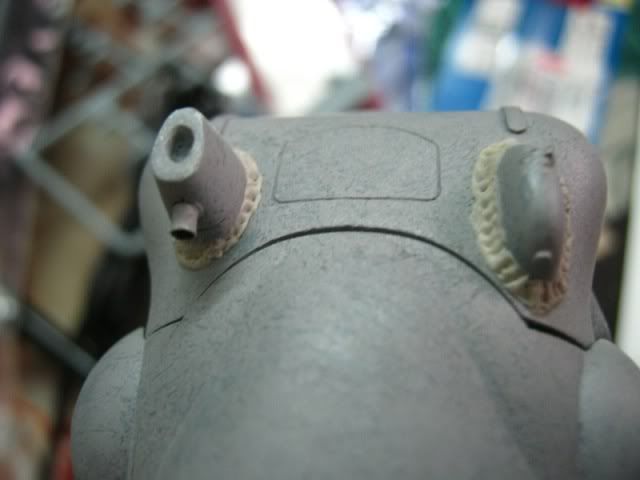
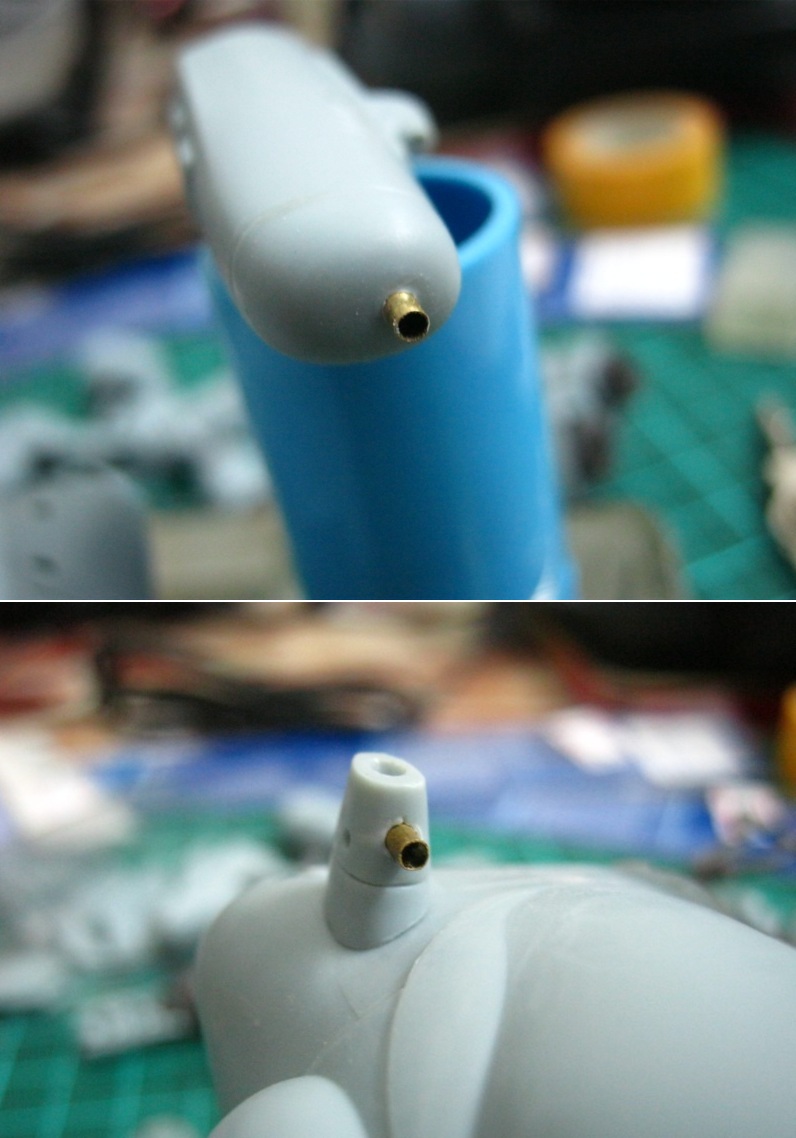
After removing the seam lines of those easy parts, i detailed up the camera and laser beam "mouth" with 1.5mm copper rod.

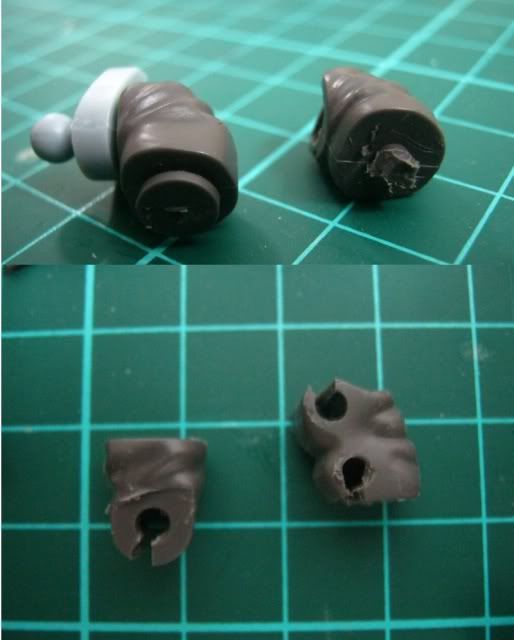
I managed to get a Wave antenna option parts from ICW,

But I am just lazy to drill a hole for it :P
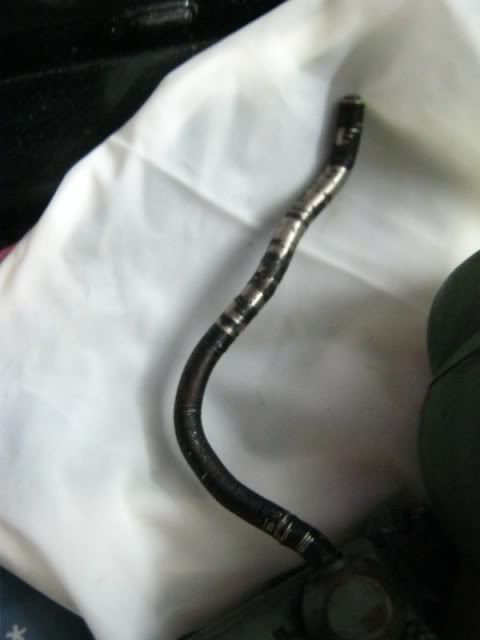
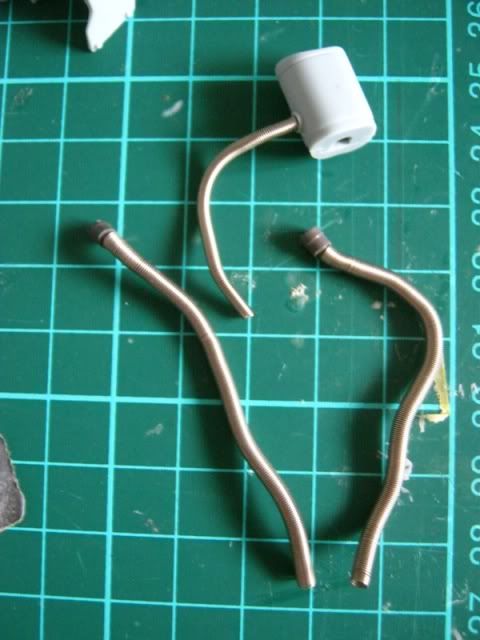
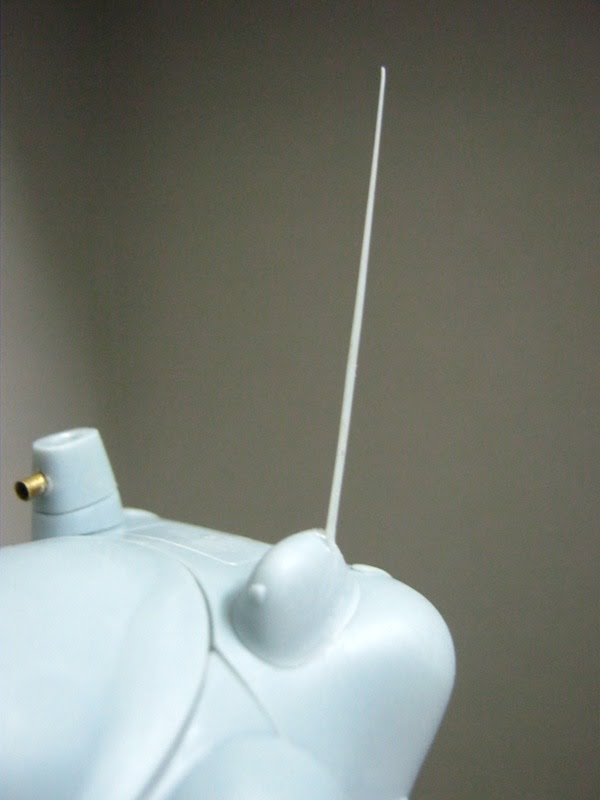
I used a technique i had learned from my trip to KL last few days:
heat the sprue tree (don't know i spelled it correctly or not) and pull it carefully, to create a thin, long line.

After trying for few times to get used to it, I cut a suitable length and glued it on the Raptor's back by cement. (I am skipping the antenna base details =_=)

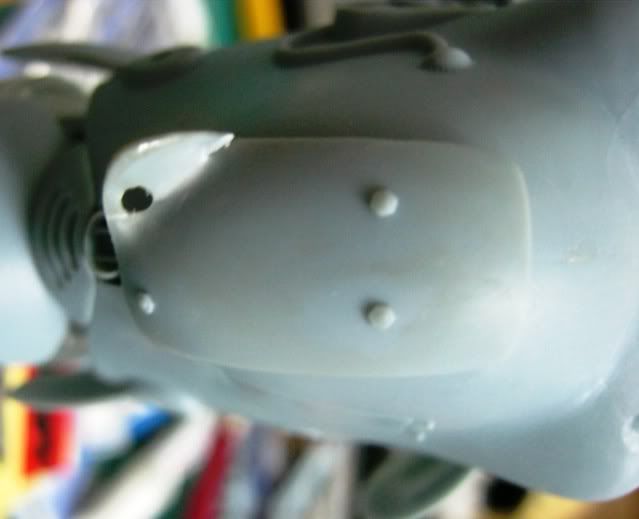
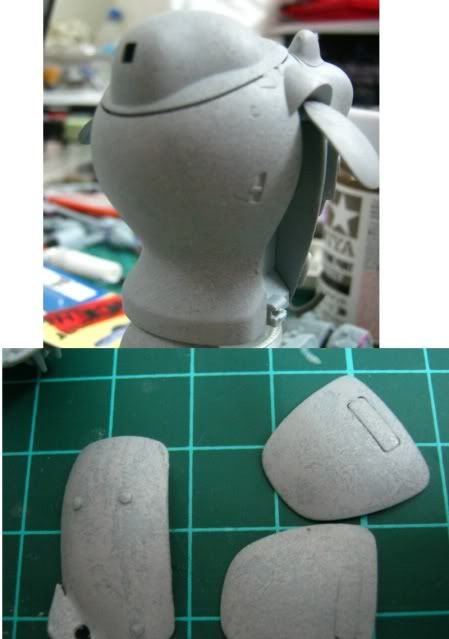
So now my Raptor's upper body looks like:

That's the update for now.
Will update soon.
Any C&C is welcomed and have a nice day! :)
 find a wood block and put the cement on it.
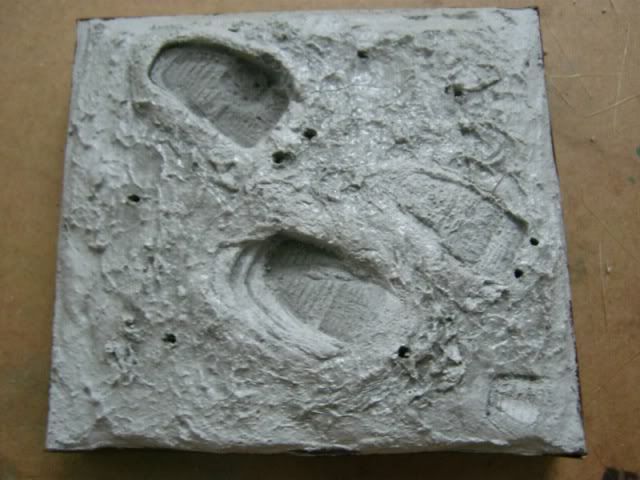 print the footprint on it when the mixture is semi dry and drill some holes for grass planting later.
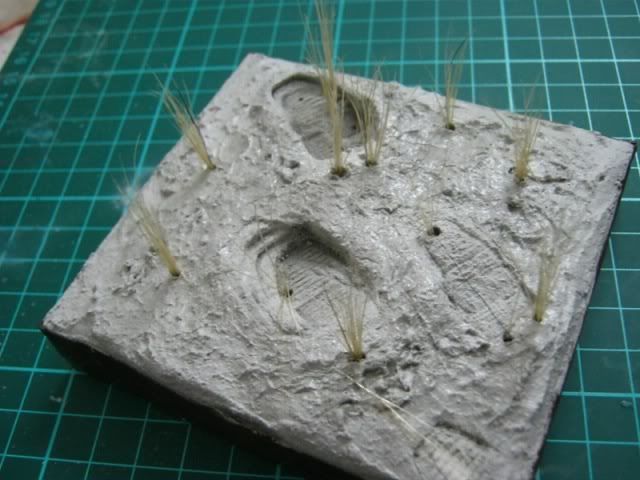 plant the "grass" (the fur from brush) into the holes.
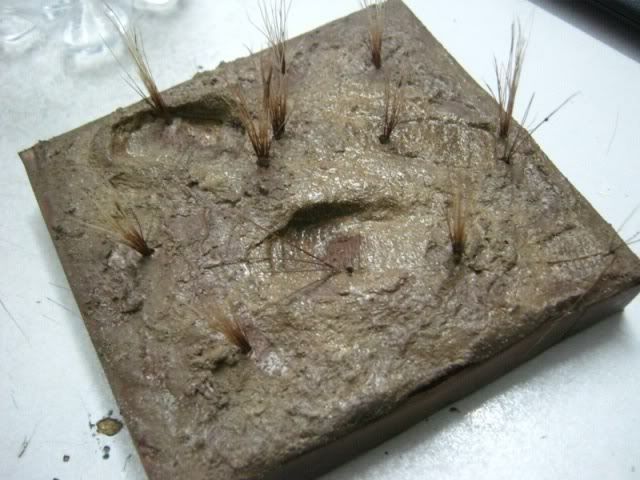 sprayed brown color on the base.
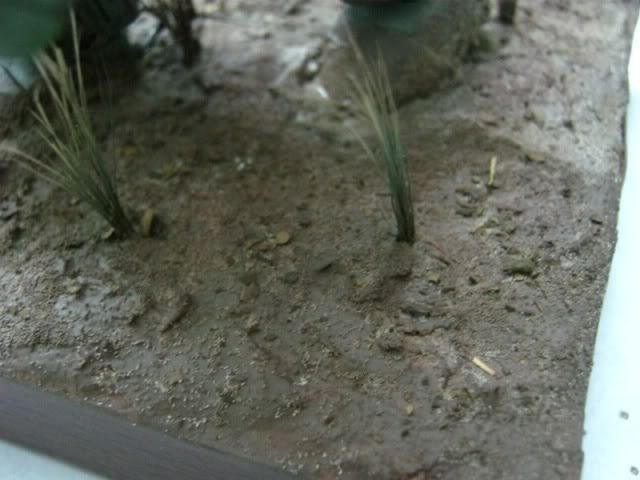 sprinkled some green tea leaves from the tea bag.
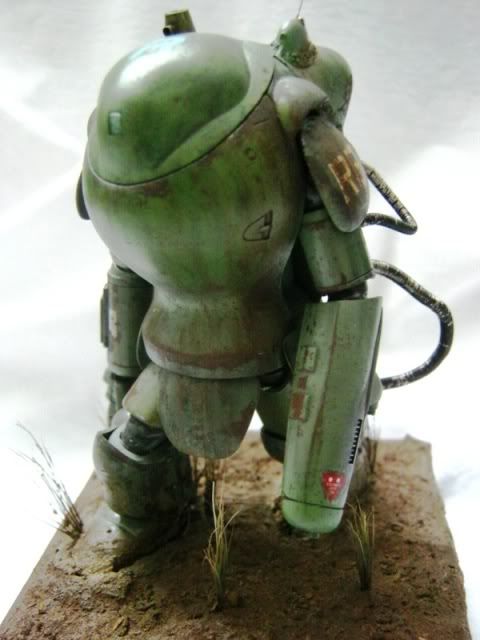 So it is finally done! the Raptor was super glued on it because the joint can't hold it well.