


Here, I would like to thanks Julius Lim for the photography.
Enjoy and any C&C is welcome! :)
 find a wood block and put the cement on it.
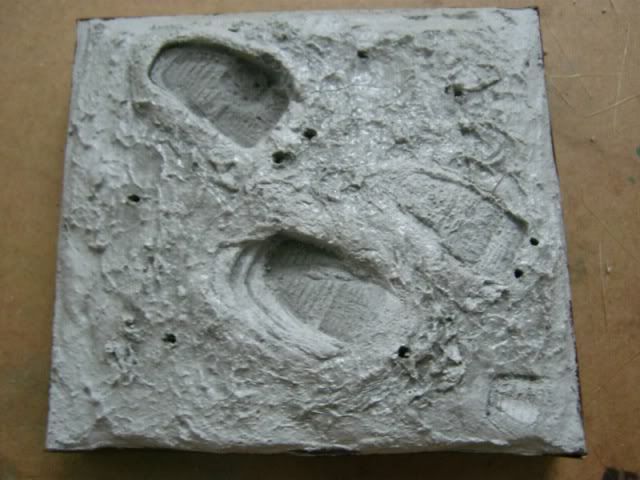 print the footprint on it when the mixture is semi dry and drill some holes for grass planting later.
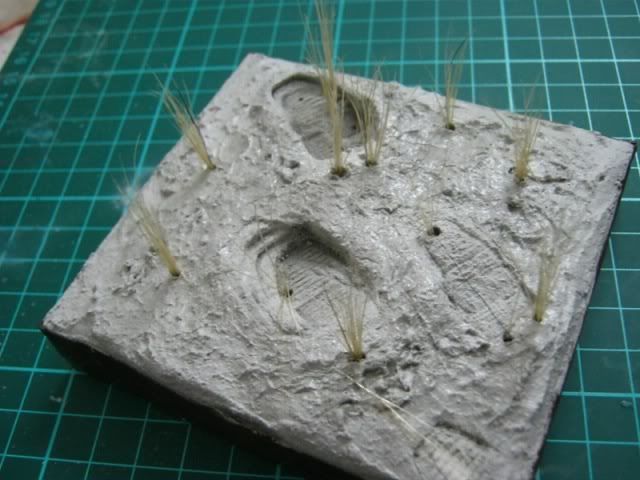 plant the "grass" (the fur from brush) into the holes.
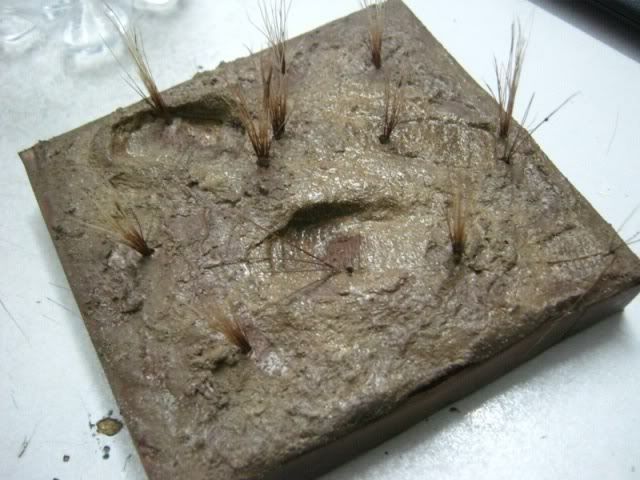 sprayed brown color on the base.
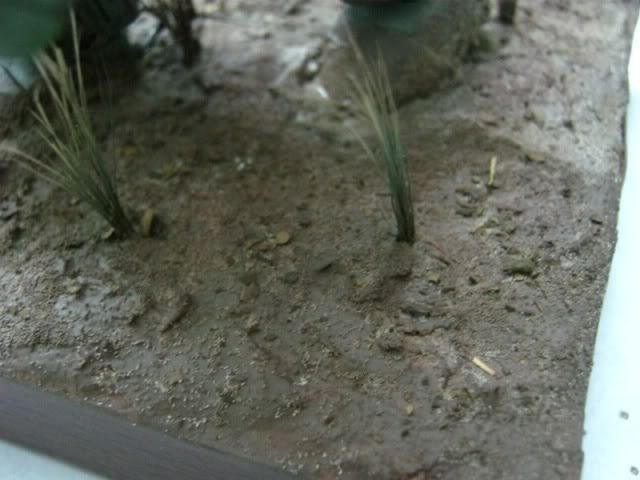 sprinkled some green tea leaves from the tea bag.
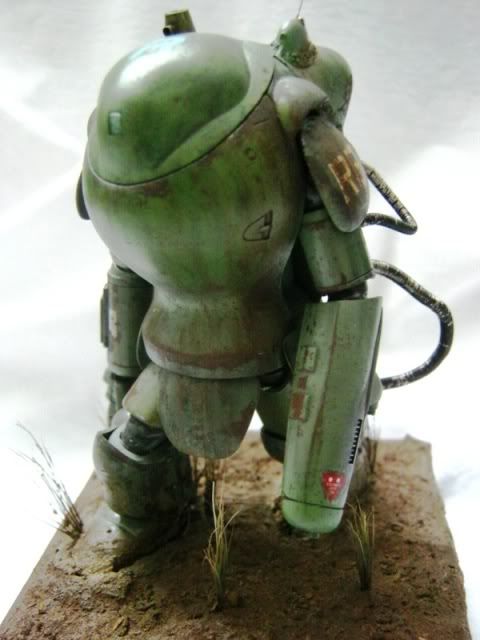 So it is finally done! the Raptor was super glued on it because the joint can't hold it well.
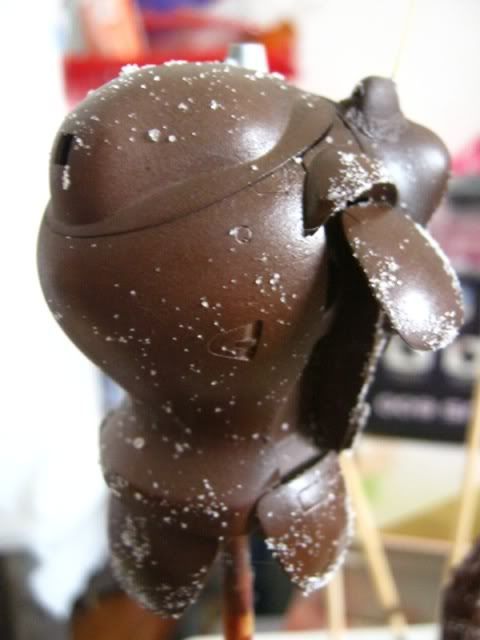 the base color is acrylic red brown mix with little black.
 after spray the color. try to free hand to draw camo, but failed..
 wash away the salt with waster
 after washed with enamel paints. the color started to change....
 dabbed some orange color on the edge to make it looks real rust.
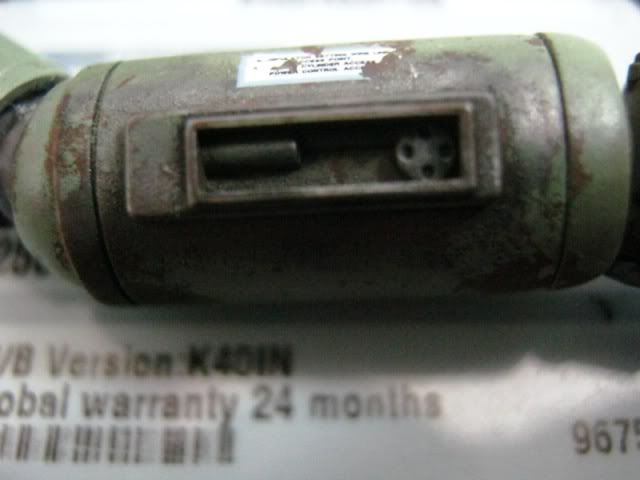 dabbed with lead powder ( get from pencil tip)
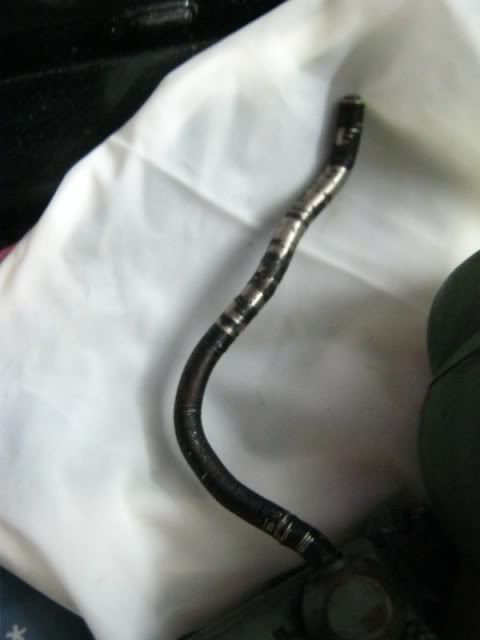 chipped some paints away to make it looks worn out
 now the kit itself is done. the next is the stage for it.
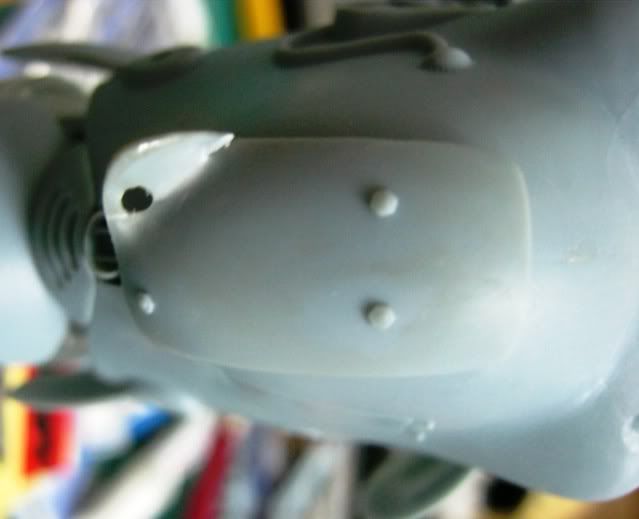 i bent the back cover to make it looks like damaged and drill a hole to make the missing nut.
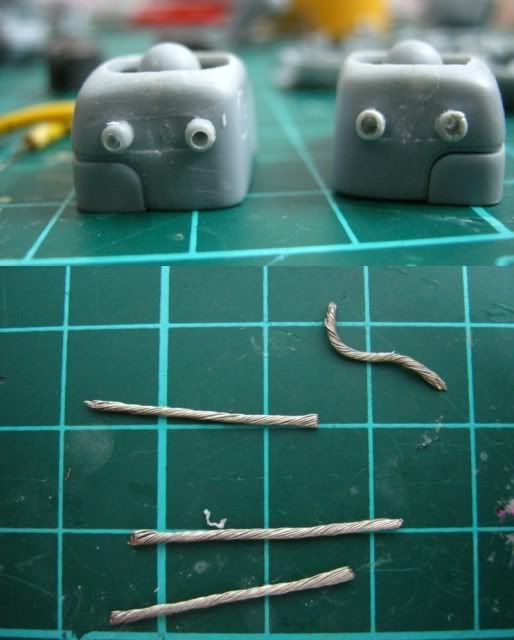 on the back side of the shoes, drilled 2 holes to insert the cable for the foot. use wire to make the cable.
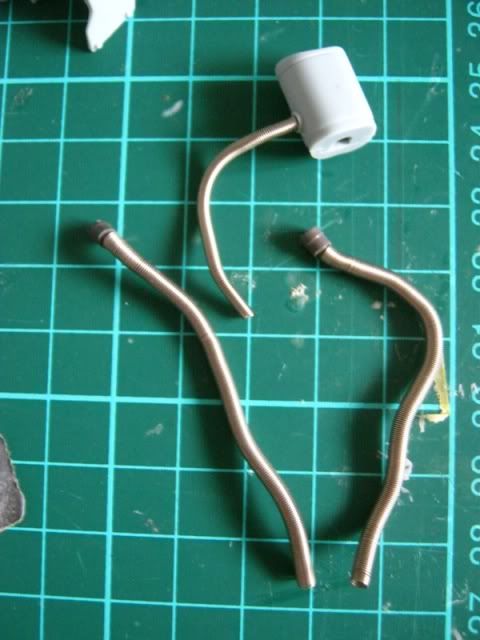 change all the cable parts with real springs.
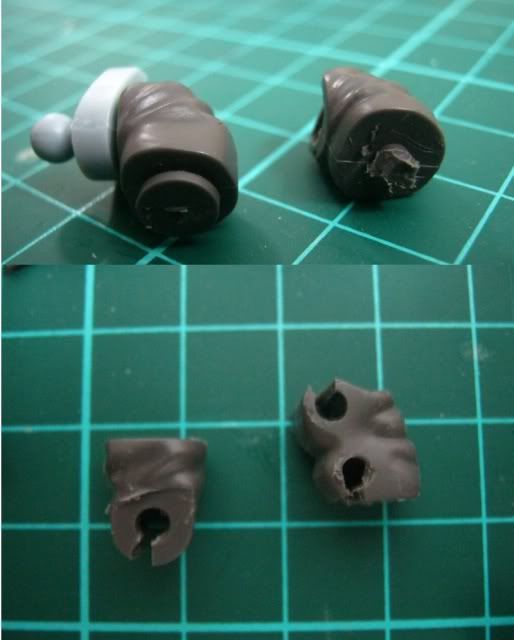 to make the pvc joints can be connected later on, some modifications are done on it.
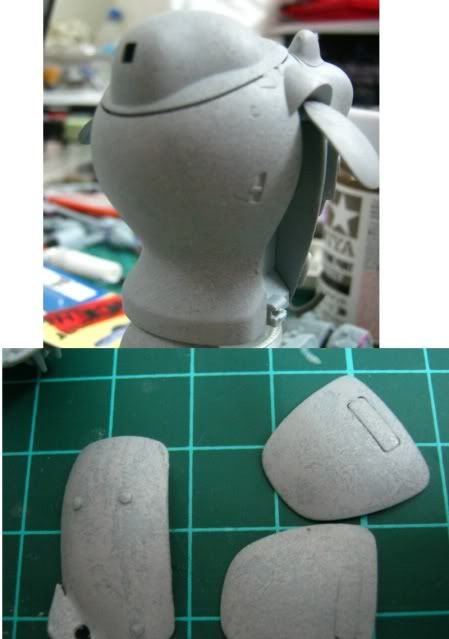 the tamiya basic putty was mixed with some mr color thinner and applied on the kit to make it has rough surface.
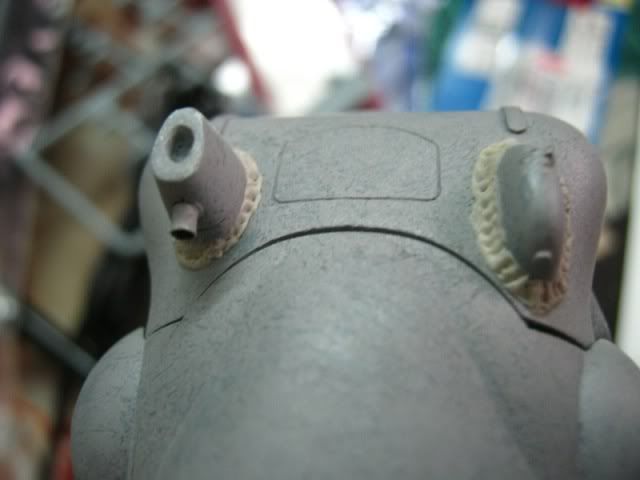 try to make the wielding lines by epoxy putty...